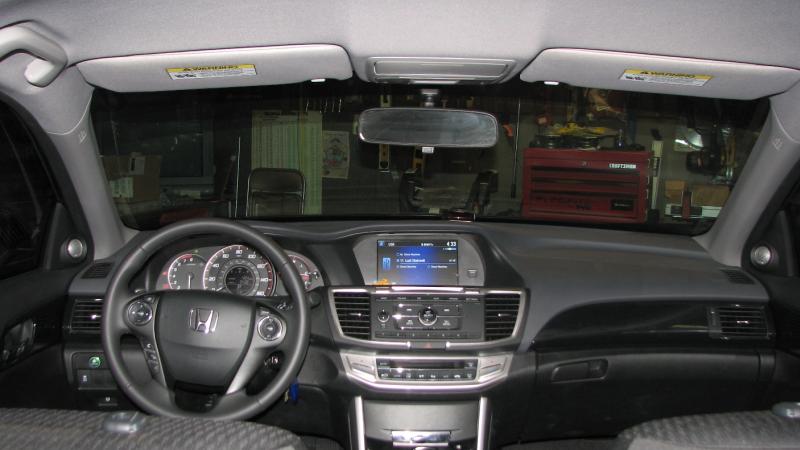
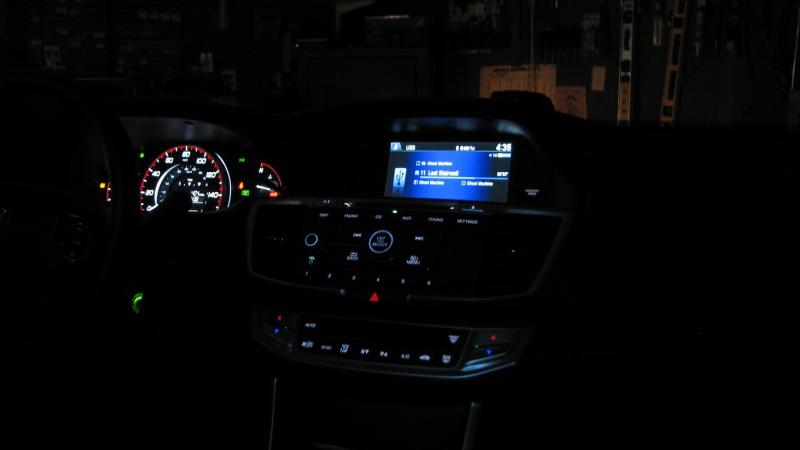
KHA 2014 Accord Sport SQ Build
#31
tonight was 4 hours of effort treating the passenger door. that's deadening, absorption, MLV barrier and CCF decoupler, and then terminating the speaker wires i had previously ran into the door. tomorrow i will repeat for the passenger door. 
the passenger door needed deadening, so a few sheets of BXT II did the trick.

then came the most important part of treating a door - adding absorption. this is a 1" thick compressed fiberglass ceiling tile (with the white cover removed). $6 per 2'x4' piece. this is easier to work with than the loose batt insulation and being compressed it offers more absorption with less hassle.


next came the barrier. the factory barrier is thin. i wanted to use MLV for the barrier but had the challenge of keeping water out. the factory setup has a slit where water can drain but it is flawed. so i added Ensolite (CCF( to the metal where the MLV will contact and also to the entire inside (one piece, sticky side out) to stick to the MLV and create a watertight barrier.

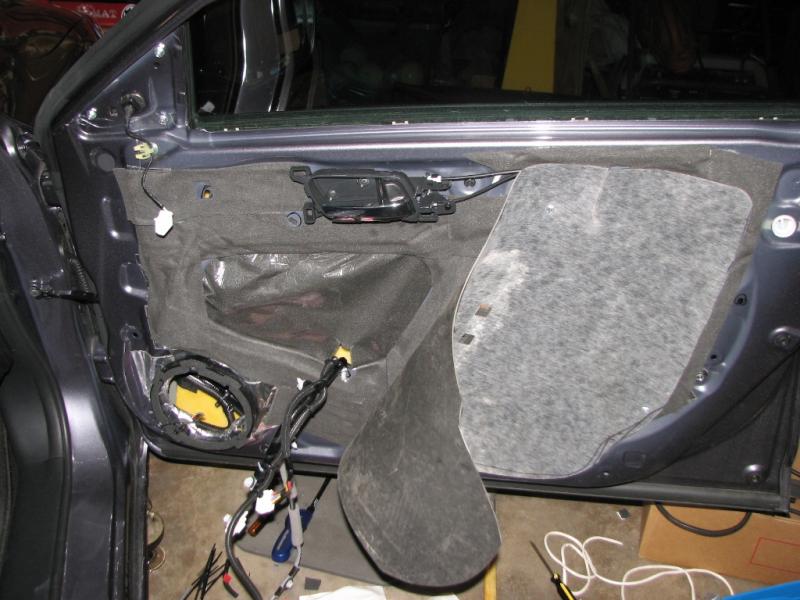


the passenger door needed deadening, so a few sheets of BXT II did the trick.

then came the most important part of treating a door - adding absorption. this is a 1" thick compressed fiberglass ceiling tile (with the white cover removed). $6 per 2'x4' piece. this is easier to work with than the loose batt insulation and being compressed it offers more absorption with less hassle.


next came the barrier. the factory barrier is thin. i wanted to use MLV for the barrier but had the challenge of keeping water out. the factory setup has a slit where water can drain but it is flawed. so i added Ensolite (CCF( to the metal where the MLV will contact and also to the entire inside (one piece, sticky side out) to stick to the MLV and create a watertight barrier.


#32
now for the MLK-165 speakers.
i had previously ran wiring into the doors.
16-4 has two conductors for factory speaker output (until i get the 9887 in) and the other two for tweeters. 12 awg for woofers.
i soldered the connections here


got it loomed and tied and protected

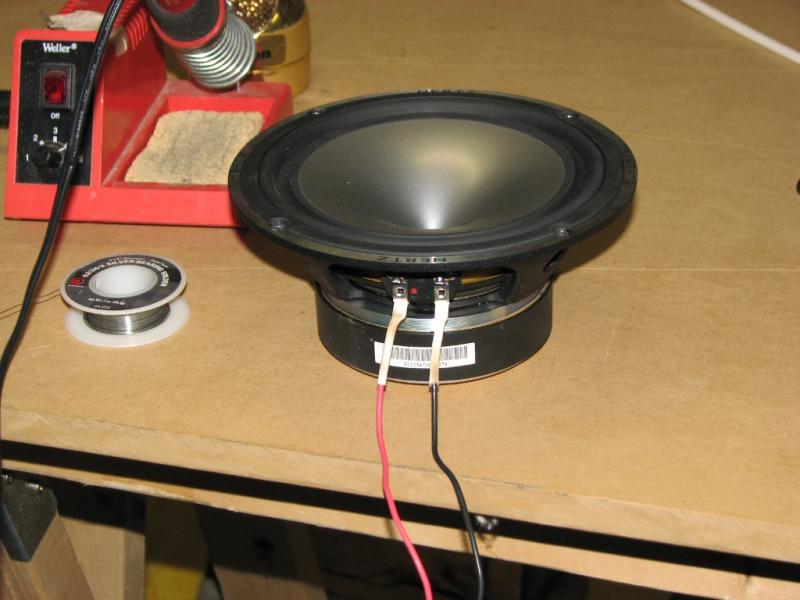
soldered leads onto the Mille woofer
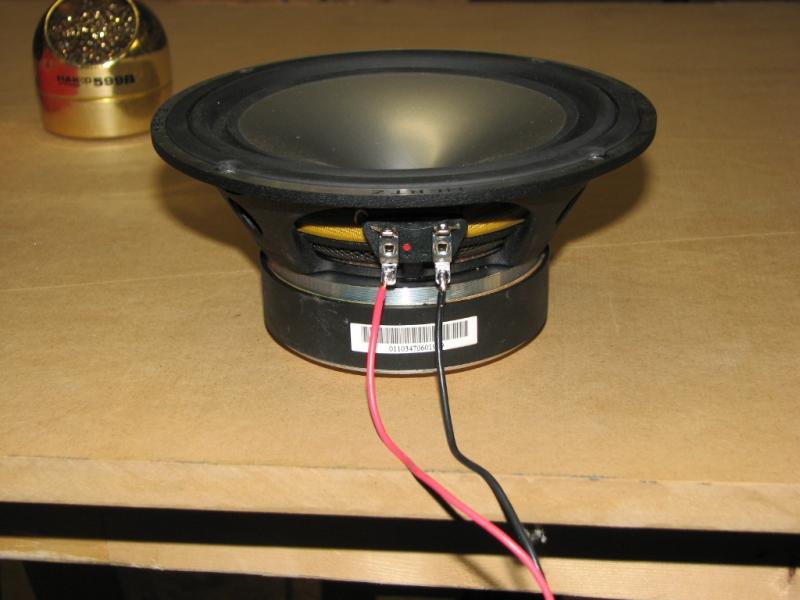
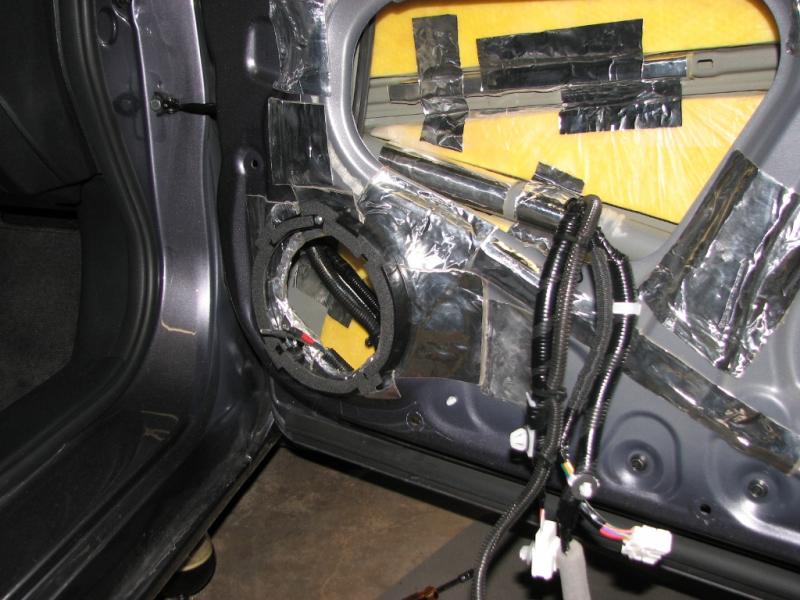
For the doors, i didn't want to cut metal and change classes. So i decided to make the Scosche adapters work. while i normally default to thick MDF rings - i've found they efficiently transfer vibration to the doors. so i deadened the hell out of the opening, added the adapters, foamed and deadened them, and installed the Mille woofers.


i had previously ran wiring into the doors.
16-4 has two conductors for factory speaker output (until i get the 9887 in) and the other two for tweeters. 12 awg for woofers.
i soldered the connections here


got it loomed and tied and protected

soldered leads onto the Mille woofer


For the doors, i didn't want to cut metal and change classes. So i decided to make the Scosche adapters work. while i normally default to thick MDF rings - i've found they efficiently transfer vibration to the doors. so i deadened the hell out of the opening, added the adapters, foamed and deadened them, and installed the Mille woofers.


#35
got the drivers door done also.


The fiberglass absorption is Armstrong 404B, BTW.
CCF mounted to the inside of the panel for a moisture barrier (sticky side out will attach to the MLV)


wires soldered, loomed, and tied

both foam sheets installed - a bit tough reaching through the speaker opening to secure it

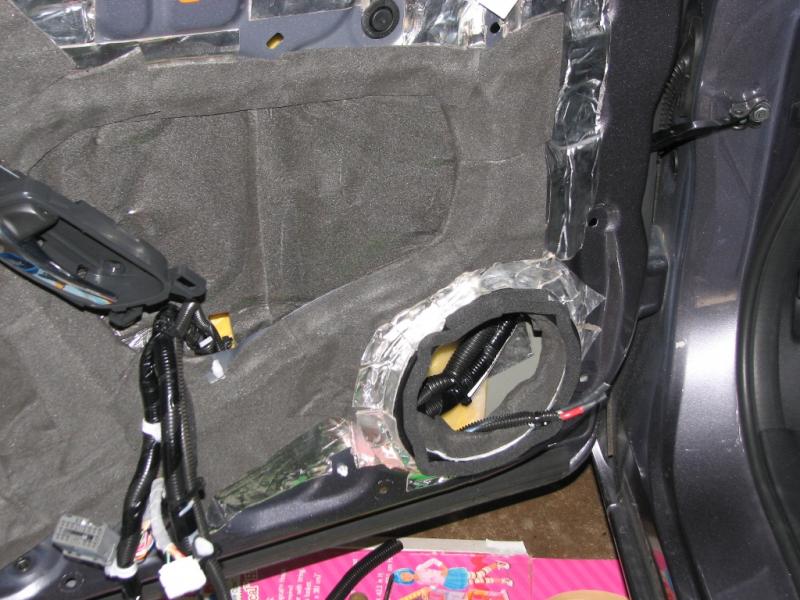
MLV added


The fiberglass absorption is Armstrong 404B, BTW.
CCF mounted to the inside of the panel for a moisture barrier (sticky side out will attach to the MLV)


wires soldered, loomed, and tied

both foam sheets installed - a bit tough reaching through the speaker opening to secure it


MLV added

#39
spent time with the family and didn't get as much done on Sunday, but did manage to get the Audison LRx5.1k mounted along with the ultracaps. working upside down is certainly adding a level of difficulty... good thing this is a big trunk that i fully fit in.
i have 1/2" nylon spacers between the amp and board and t-nuts in the board so the amp is quite rigid. security screws are used.

i covered the ends of the caps in CCF to lessen the chance of shorts. a plexi window in the beauty panel will reveal a section of the caps.
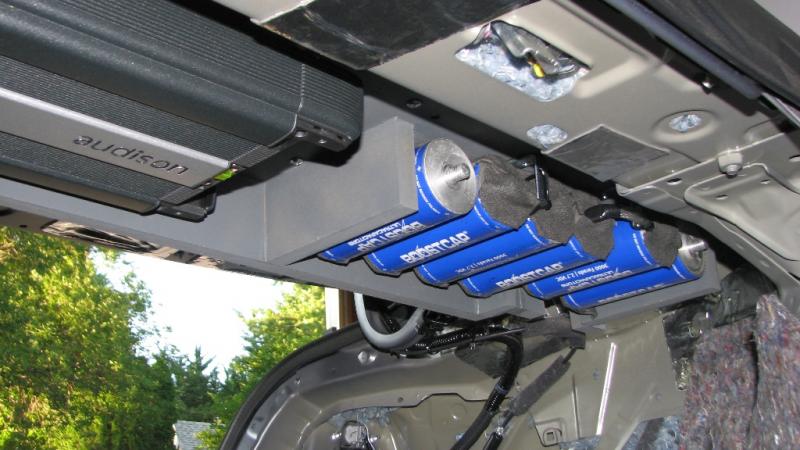

1/0 terminated into a reducer. it will be fused at 100A.

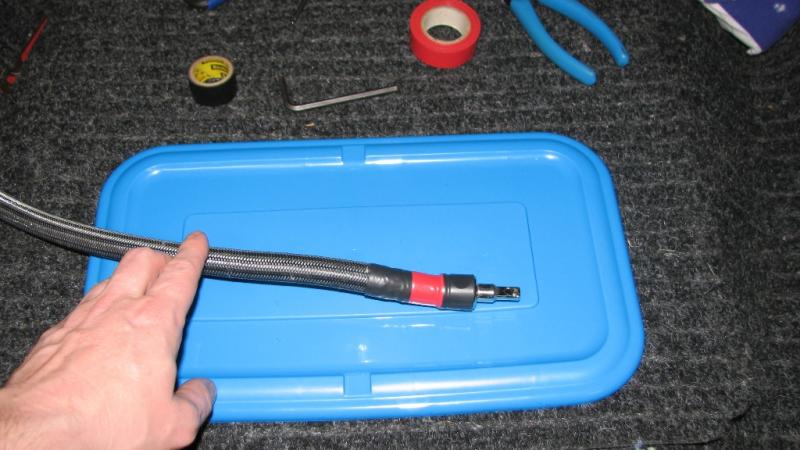
i use tie mounts on the board to hold wiring independent of connections


i have 1/2" nylon spacers between the amp and board and t-nuts in the board so the amp is quite rigid. security screws are used.

i covered the ends of the caps in CCF to lessen the chance of shorts. a plexi window in the beauty panel will reveal a section of the caps.


1/0 terminated into a reducer. it will be fused at 100A.


i use tie mounts on the board to hold wiring independent of connections


