Molding a screen into dash
#1
Sup guys. I'm almost finished with molding a headrest screen into my dash area and I have some pics of my progress so far.
I dont have the before pics though. All I did was remove the screw holding the screen bezel and the whole monitor itself and took off my dash area and centered the monitor bezel inside the climate control bezel. So further ado, here are the pics:
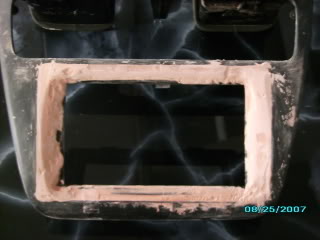
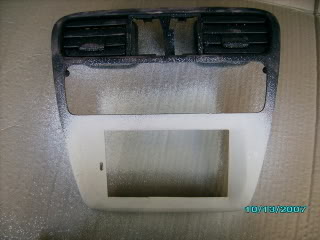
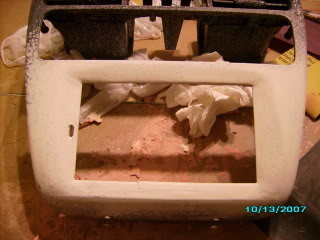
just need to do some more sanding in the top area to give it the angular look but I'm keeping the r&l bottom areas curved.
I'll update more tomorrow if I have time to work on it some more.
I dont have the before pics though. All I did was remove the screw holding the screen bezel and the whole monitor itself and took off my dash area and centered the monitor bezel inside the climate control bezel. So further ado, here are the pics:


just need to do some more sanding in the top area to give it the angular look but I'm keeping the r&l bottom areas curved.
I'll update more tomorrow if I have time to work on it some more.
#6
hey, that's looking really good. me, I'm to chicken...besides, where I live, that would just invite theft.
I think once I get the coilovers and exhaust done on my car, painted again and new tints...I'm pretty much done till I have a garage again, or my daughter takes it...which ever happens first
but nice job on there bro!
I think once I get the coilovers and exhaust done on my car, painted again and new tints...I'm pretty much done till I have a garage again, or my daughter takes it...which ever happens first
but nice job on there bro!
#7
here's a mini update: just sanded the corners down to give it the angular look and make everything even out.
both of the picture are the same, one w/ flash and one w/o
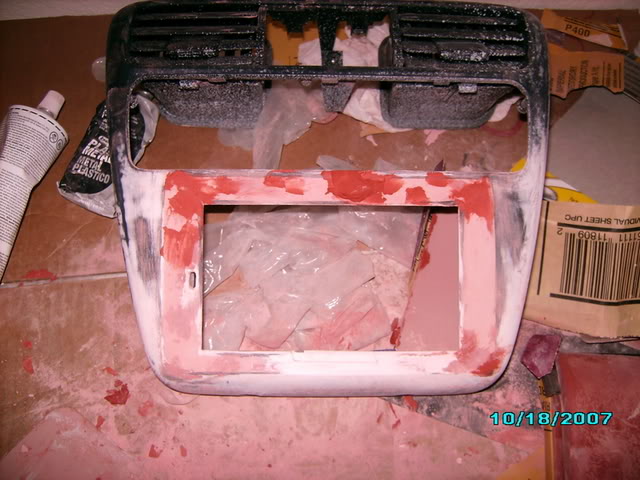
the red stuff is sanding putty which fills in the little gaps
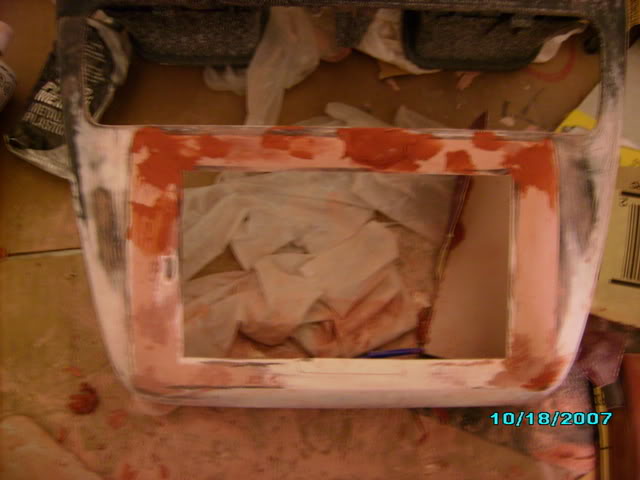
sorry, this one is kind of blurry.
But after sanding this down, one more layer of primer, sand that, then paint
both of the picture are the same, one w/ flash and one w/o

the red stuff is sanding putty which fills in the little gaps

sorry, this one is kind of blurry.
But after sanding this down, one more layer of primer, sand that, then paint

Thread
Thread Starter
Forum
Replies
Last Post


