
My F22a1 Rebuild
#11
 06-20-2012 | 11:54 PM

Thread Starter
|
Newest Of Newbies
Joined: Jun 2012
Posts: 13
From: Southern utah
 . Its just people like this, usually girls most guys like to fix their cars, that really tick me off.
also I went and got some red high temp paint from checkers and I'm probably just going to do the entire block, head and cover red and then any of the letters are going to be black.

Anyways I finally got my engine block I cleaned some of the junk of it the didn't come off in the hot tank and I have one piston installed the crank is installed other than the oil squirters where in the way of installing the rods well at least in the way of the torque wrench so i took those back mostly because i almost forgot the thrust bearings(that could have been bad). I'll get pictures up tomorrow I'm tired and need to wake up at 6 in the morning for work. so I'll post the rest then.
#12
06-22-2012 | 12:47 AM
Thread Starter
|
Newest Of Newbies
Joined: Jun 2012
Posts: 13
From: Southern utah
I'm finally getting to posting pictures and updating everything.
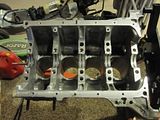
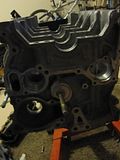
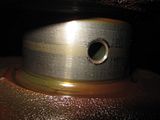
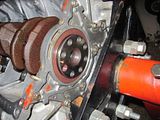
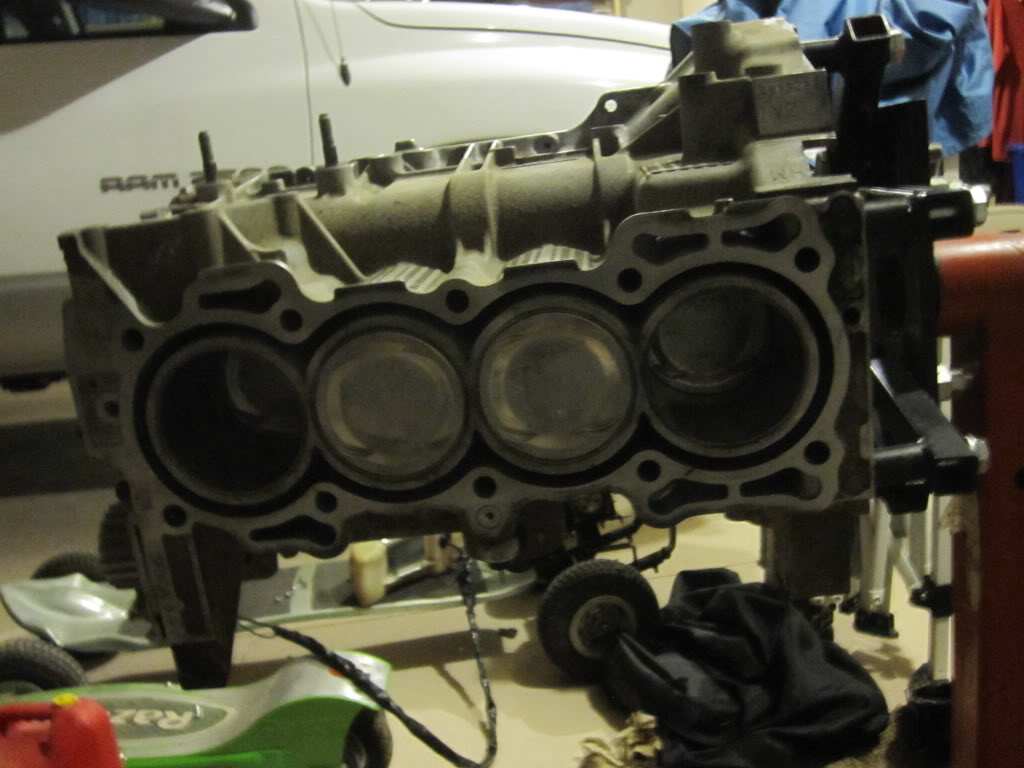
^ that is what my block looked liked when i got it back.
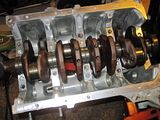
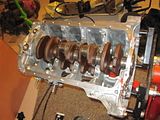
v installed main bearings

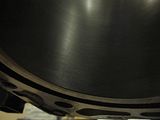
^ cylinders look good.
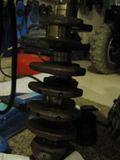
cleaned the crank.
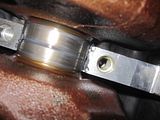
All of the 10mm bolts holding the oil pump on were 9ft pounds and all of the 12mm bolts were 18ft pounds, and the 10mm bolts on the flexplate side are 9ft pounds.
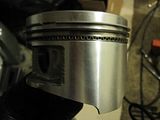
piston rings on most of the pistons and I manage to snap one of the rings so I need to order some more off ebay. I'll be doing that tomorrow when I can call the merchant and order the oversize rings... sets me back till monday or tuesday. I guess I can start with pulling the other engine apart and start the work on deleting the power steering system, to be honest the only thing I don't like about hondas is that when its really cold it seems that the power steering works against you and since I'm moving to idaho soon it must go.


^ that is what my block looked liked when i got it back.
v installed main bearings

^ cylinders look good.


cleaned the crank.


All of the 10mm bolts holding the oil pump on were 9ft pounds and all of the 12mm bolts were 18ft pounds, and the 10mm bolts on the flexplate side are 9ft pounds.


piston rings on most of the pistons and I manage to snap one of the rings so I need to order some more off ebay. I'll be doing that tomorrow when I can call the merchant and order the oversize rings... sets me back till monday or tuesday.
I guess I can start with pulling the other engine apart and start the work on deleting the power steering system, to be honest the only thing I don't like about hondas is that when its really cold it seems that the power steering works against you and since I'm moving to idaho soon it must go.


#13
06-23-2012 | 03:47 PM
Thread Starter
|
Newest Of Newbies
Joined: Jun 2012
Posts: 13
From: Southern utah
While waiting on my new pistons rings to come in I decided to go into a little bit more detail with a video, if you think there is something I didn't cover that you think I should please let me know.
I couldn't figure out how to embed it. :/ so heres the link
http://www.youtube.com/watch?v=U-xGH...ature=youtu.be
I couldn't figure out how to embed it. :/ so heres the link
http://www.youtube.com/watch?v=U-xGH...ature=youtu.be
Last edited by Hackshack; 06-24-2012 at 12:17 AM. Reason: first link didn't work because video failed to upload
#14
07-09-2012 | 05:44 PM
Thread Starter
|
Newest Of Newbies
Joined: Jun 2012
Posts: 13
From: Southern utah
I must apologize to anyone who has been following this I already have the engine all back together and its running inside the car. I sort of burnt myself out trying to do everything so quickly and I've been stuck in lazy mode for a while. but luckily i still got pictures and video I'm just now going to get them up here for all of you to see.
#15
07-09-2012 | 05:51 PM
Thread Starter
|
Newest Of Newbies
Joined: Jun 2012
Posts: 13
From: Southern utah
So I got the pistons in right and its running smoothly so I think I got the pistons facing the right way and the rings in right.
So heres the video on the pistons.
MVI 2584 - YouTube
So heres the video on the pistons.
MVI 2584 - YouTube
#16
07-09-2012 | 08:53 PM
Thread Starter
|
Newest Of Newbies
Joined: Jun 2012
Posts: 13
From: Southern utah
the pistons are all in now.

The Head is back on head bolts: 78ft-lbs.
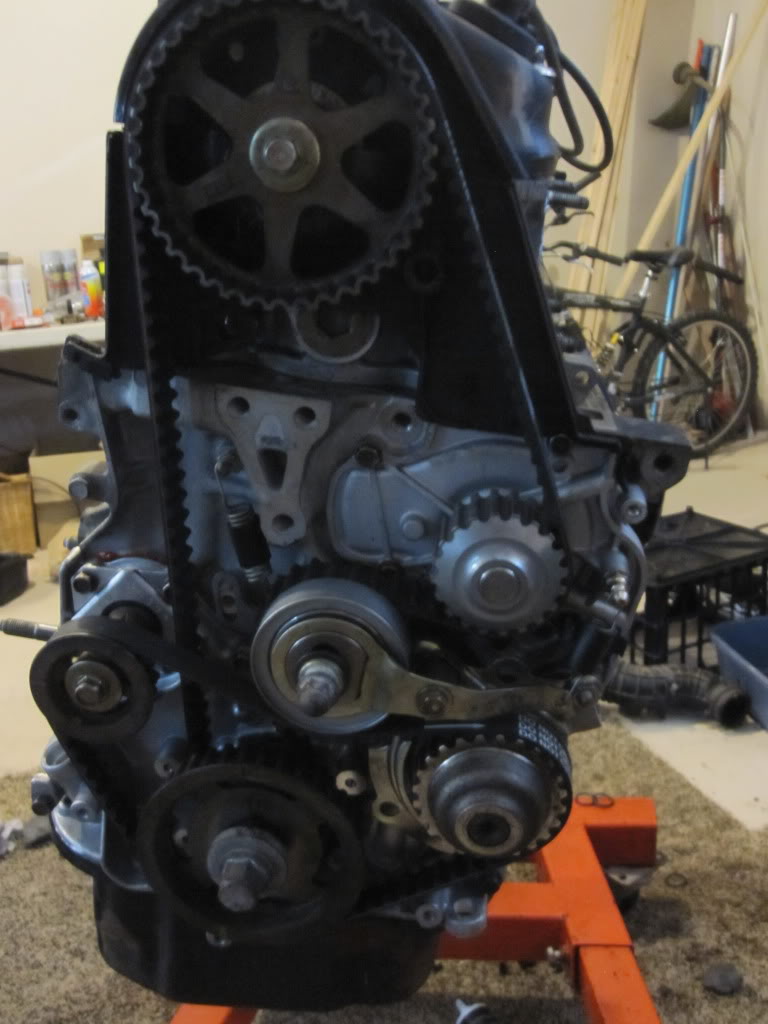
timing in and suprisingly it was perfect when i started it.
makes me so happy.
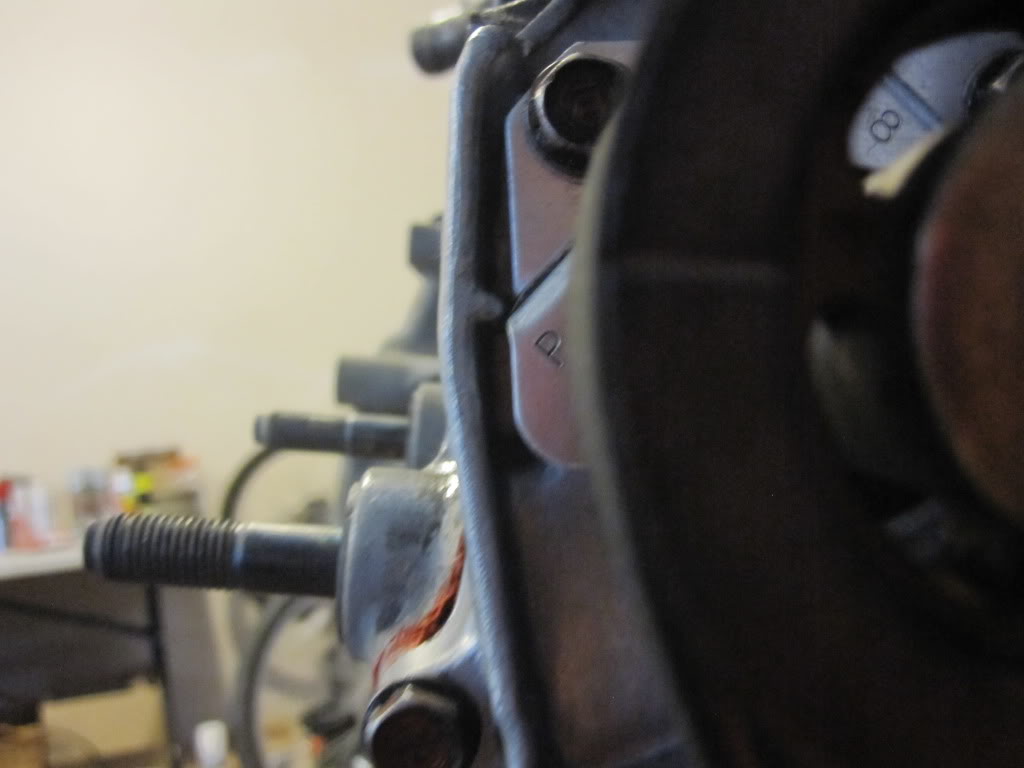
says up all i have to say it get it as up as you can get it it doesn't have any marks at all... So helpful honda sometimes I want to destroy you for being complicated but it seems to last forever so i won't
") also 27ft-lbs for the camshaft bolt but what i found our was that once it was finally torqued the camshaft started rotating so I'd say its safe to just tighten it till the camshaft starts turning... but I still recommend you use the right tools in case i'm wrong I don't want your engine to fall apart. I'm not responsible for anything you do with your engine, try all of this at your own risk.
also 27ft-lbs for the camshaft bolt but what i found our was that once it was finally torqued the camshaft started rotating so I'd say its safe to just tighten it till the camshaft starts turning... but I still recommend you use the right tools in case i'm wrong I don't want your engine to fall apart. I'm not responsible for anything you do with your engine, try all of this at your own risk. 
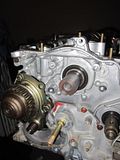
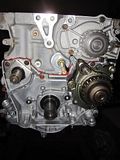
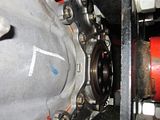
the is a little line that i lined up with the bump on the oil pump... it seem to have done the trick.
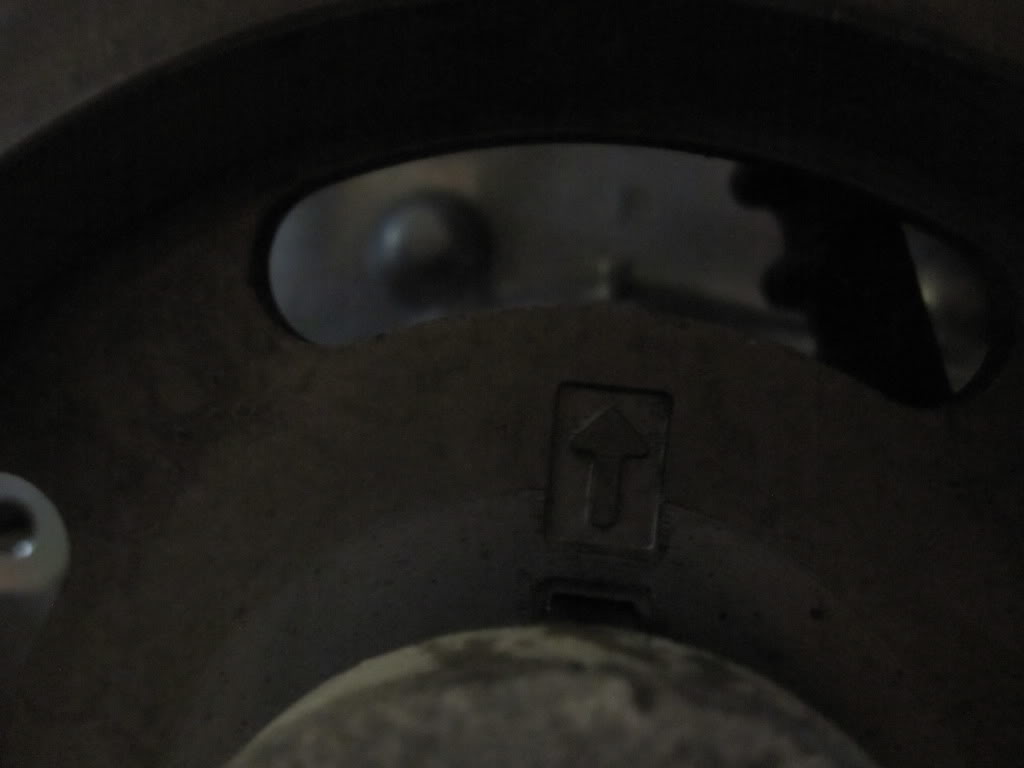
the arrow is supposed to point to the bumps back on the oil pump my was a little more aligned when i was done.
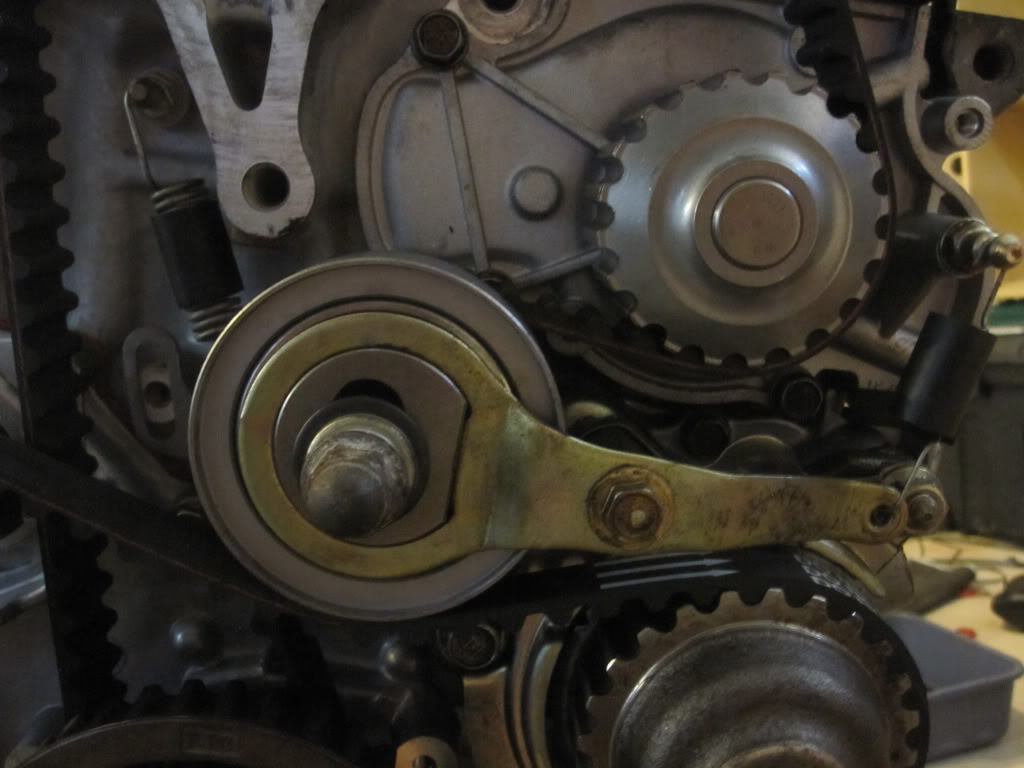
31ft lbs for the bolt on the tensioners and there are springs to help tighten the belts. so helpful
don't forget your motor mount when your done I almost did!!!
 that would have been bad when putting the motor back in.
also for the rear balance shaft this is the video i used to help me. 92 accord 2.2 rear balance shaft - YouTube he is right the way it was designed it will only allow a screw driver in one way and it will lock it. so its a whole lot simpler than it seems to be.
hopefully this helps all of you guys.
also the valve cover bolts are 7ft-lbs.
so that pretty much covers my engine rebuild. I'm still going to post the rest getting the motor and stuff out and the the motor and stuff back in.


Thread
Thread Starter
Forum
Replies
Last Post