My radiator fan motor fell off?
#1
I'm very very new at this stuff, but I've been fixing things as I go and learning as I do new things, so be gentle 
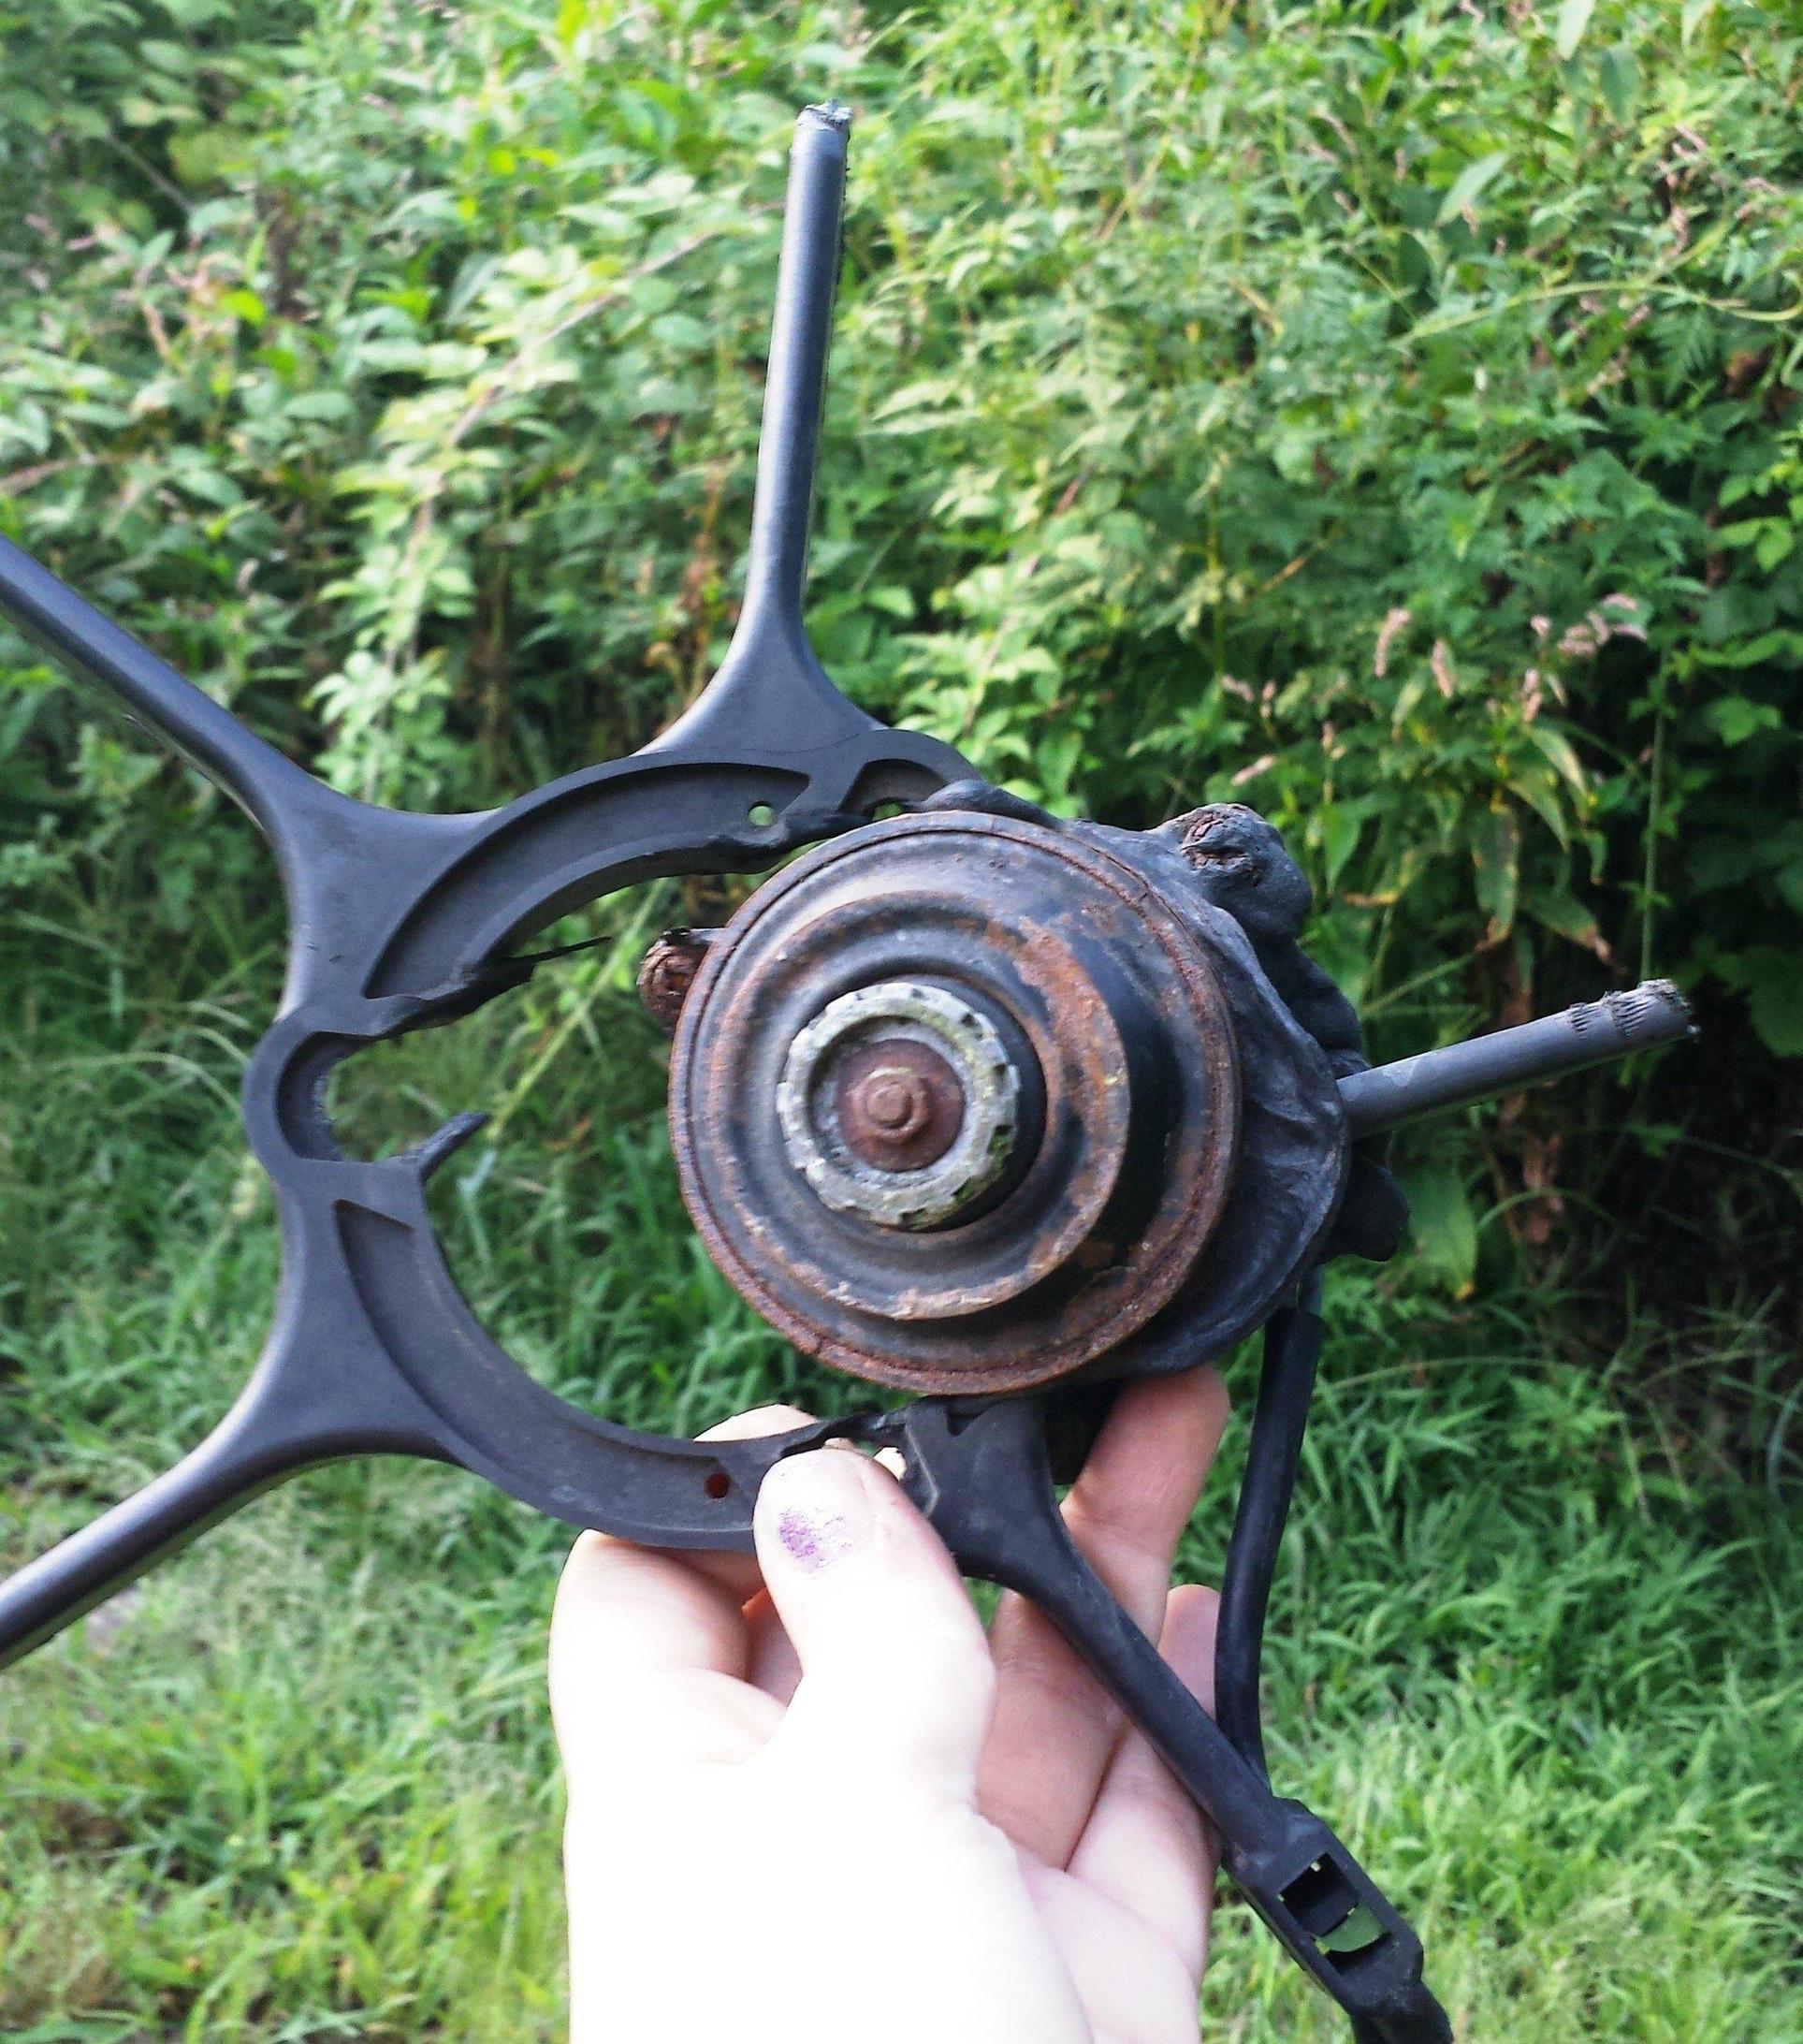
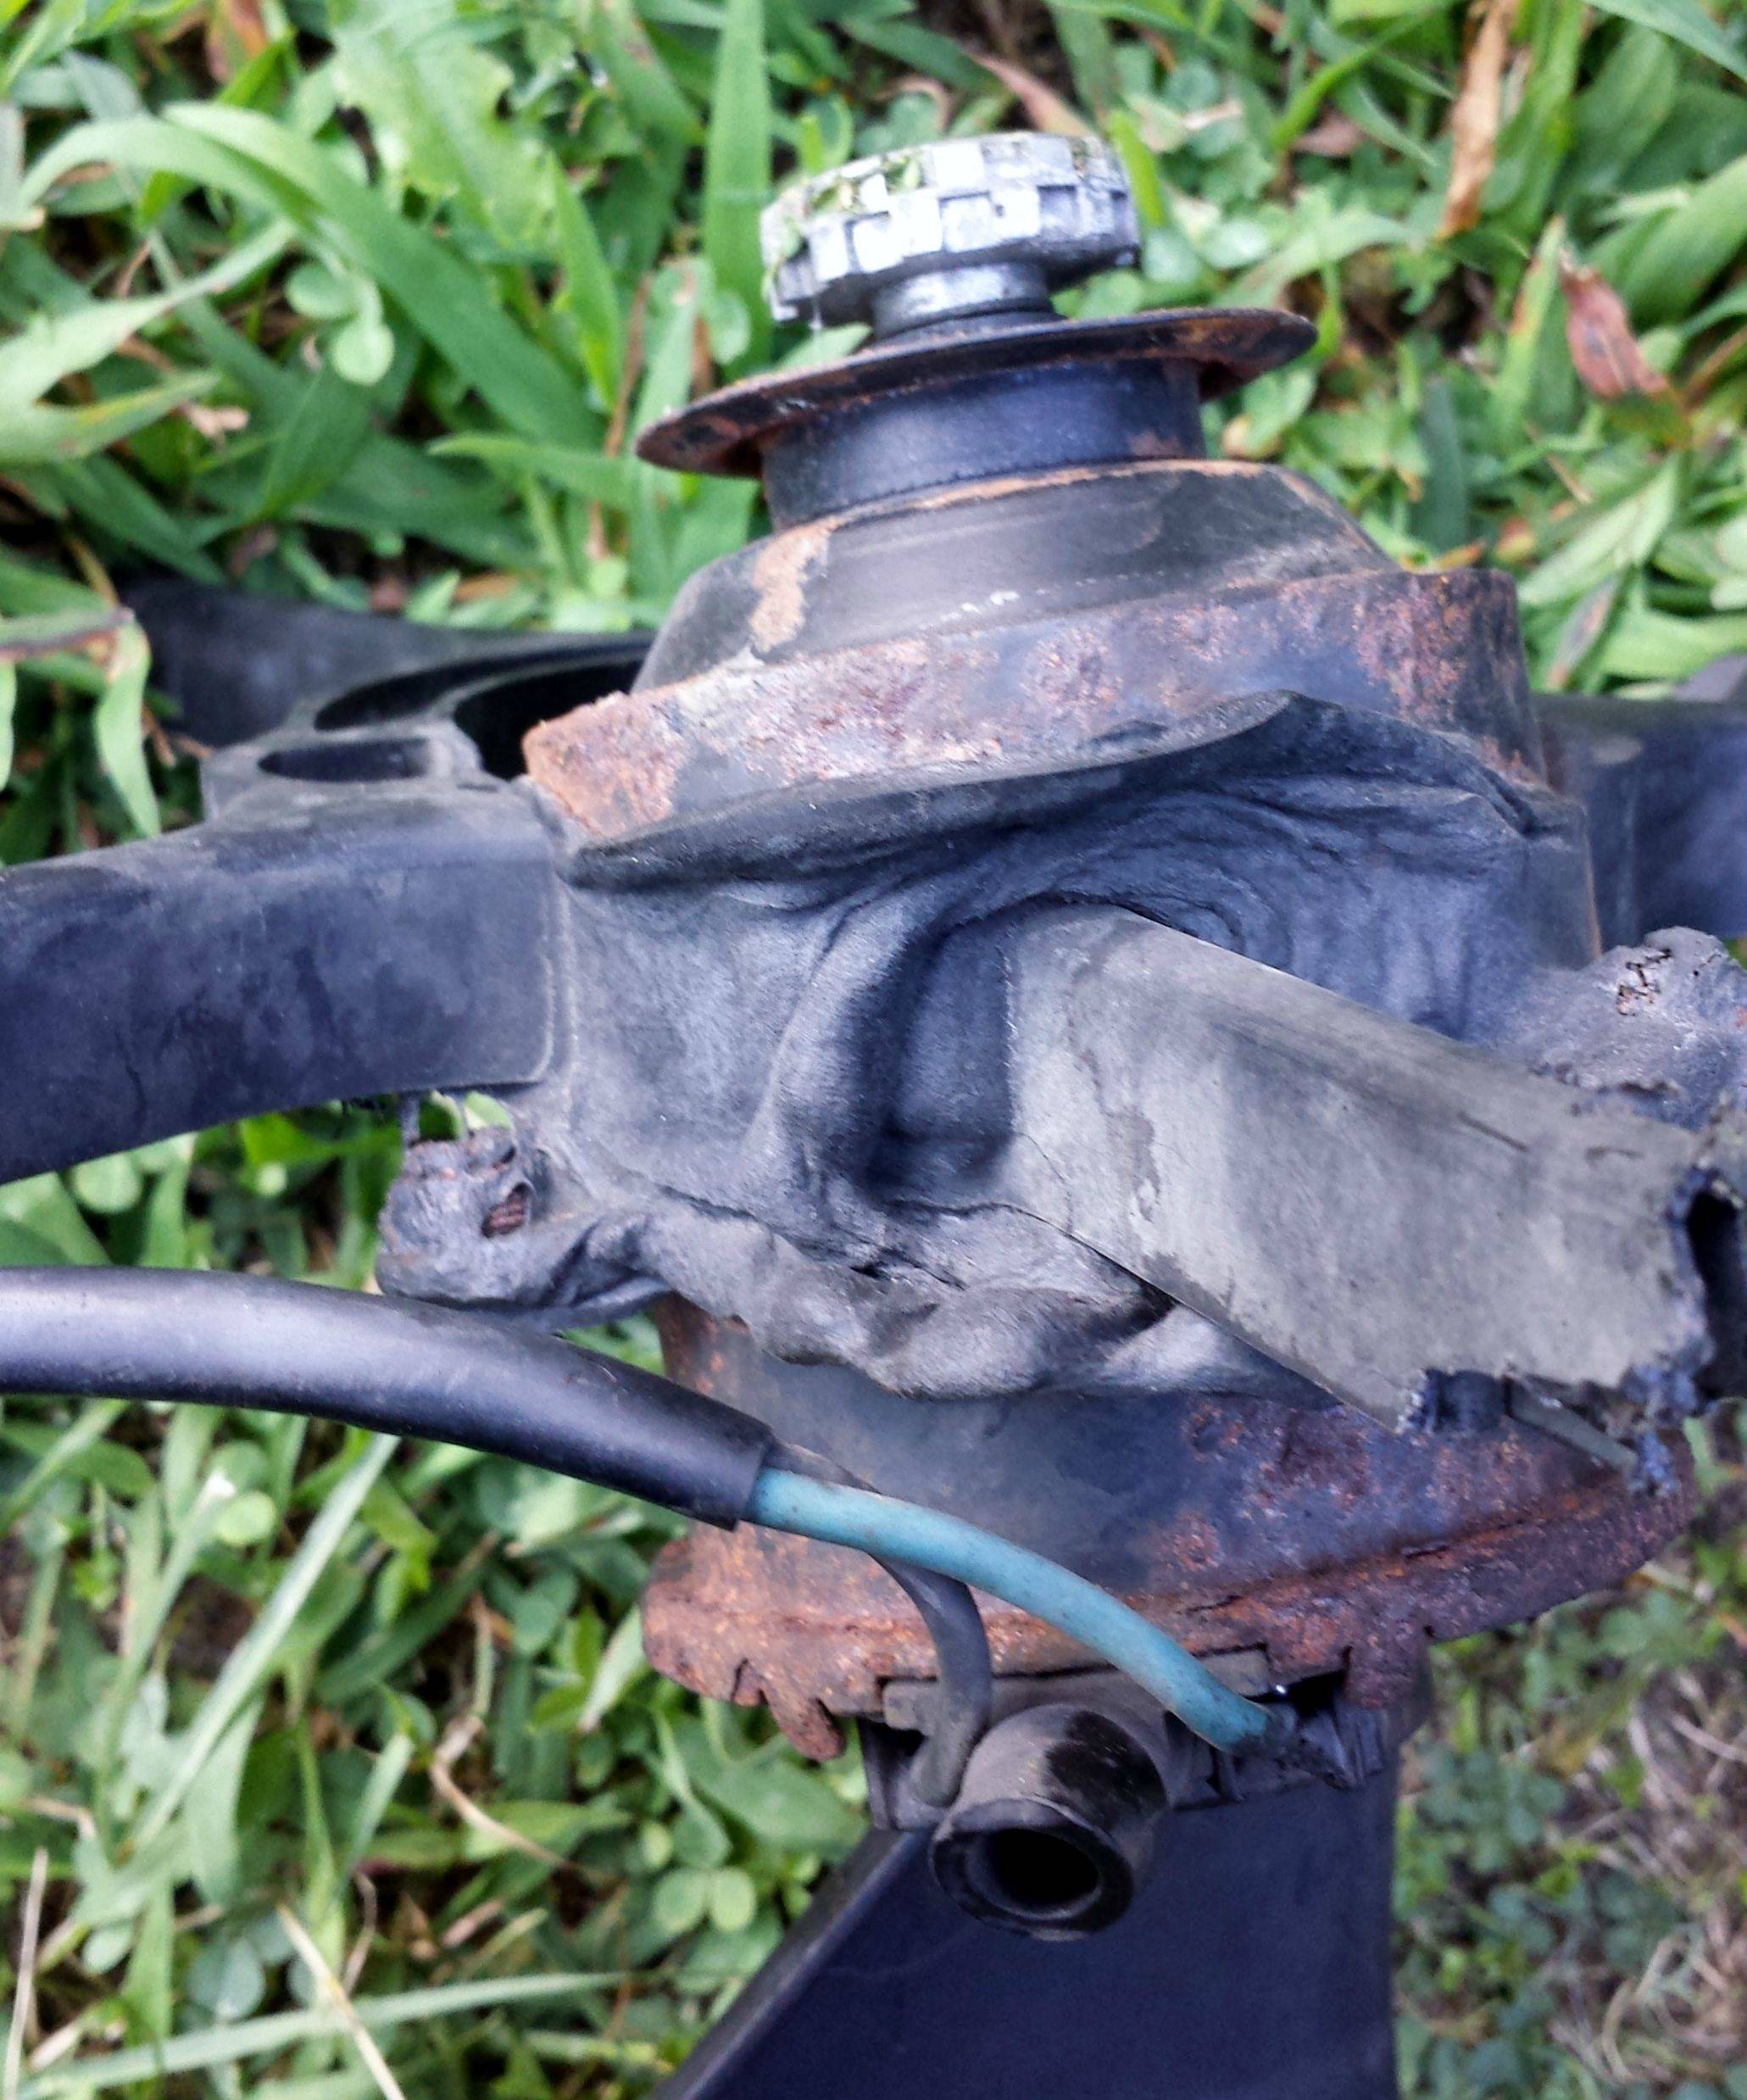
My A/C wasn't working, so I found a short in the heater control panel, and fixed it, and then my fuse was still blowing. So I tested the relay, and all the wires that go with it, until I got to the radiator fan, and I realized that it did not look like the cooling fan, and the motor appears to have fallen out and melted some plastic.
So I'm picking up a replacement fan assembly at a junkyard tonight, but this is the most "engine-y" thing I've done, everything before this has just been electrical. I watched a few Youtube videos on how to do it, but does anyone have any tips, or is there anything that I should know? I just don't want any surprises once I get things disassembled.
Any idea what caused this? If anything else nearby might be broken from whatever caused this to break? Anything to check for to make sure that I fix the root cause of the issue?
My game plan is to go in from the top and remove the radiator and some hoses to access it, and I think it looks fairly straight forward, but is there anything that I should definitely not touch around there to get clearance?
Thanks!


#3
1995.
This isn't the best picture, but it's the only one I have that goes far enough back to show context (it was from when my spark plug just randomly fell out one day). The fan is underneath all those hoses in the front, I don't see how to get it out without taking the radiator out with it. Is there?

This isn't the best picture, but it's the only one I have that goes far enough back to show context (it was from when my spark plug just randomly fell out one day). The fan is underneath all those hoses in the front, I don't see how to get it out without taking the radiator out with it. Is there?

#4
1. Remove radiator overflow reservoir. (Removal of the reservoir gives you room to slide the shroud toward that side for removal) – Take off the reservoir cap, and then use your hand to pull the reservoir straight up off the bracket.
2. Remove the 2 bracket bolts holding the A/C line (you’re not removing the bracket). This also gives you more room to slide out the shroud up and out.
3. Removal of the plastic splash shield underneath the car makes it easier to access the fan motor connector and the 2 bolts at the bottom of the shroud.
4. Unplug the fan motor connector located at the bottom.
5. The shroud is held on with 4 bolts. The bottom 2 bolts only need to be loosen, not removed; as the shroud can be pulled up off the bottom 2 bolts after they are loosen. In addition, by not removing the 2 bottom bolts and just loosening them, they will serve to more easily install the new replacement shroud back in the car. – So to recap, remove the top 2 bolts and loosen the bottom 2 bolts holding the shroud.
6. Removing the upper radiator hose makes it a lot easier to remove the shroud; but, I have done it without removing the radiator hose.
7. Pull out the shroud and motor assembly toward the passenger side and out.
8. Installation is reversing the removal steps.
#6
Thank you so much for your suggestions! This is coming from the girl who's never actually touched anything under the hood before, and your instructions were really clear and helpful.
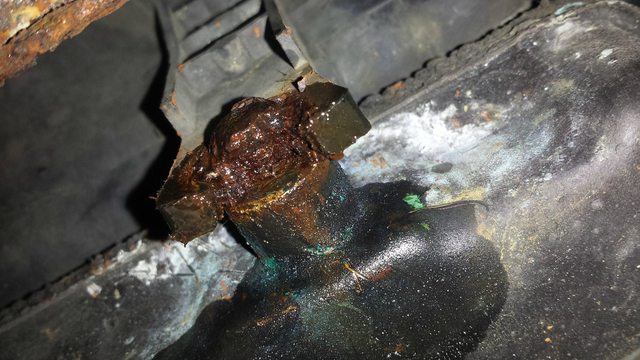
I'm about halfway through now, and I'm taking off the bottom two bolts. The bolts are both very corroded and a 10mm socket won't even budge them. I have been working at one of them with a 10mm wrench, but the other one I have no idea how to get off. Any suggestions?
This is the bolt with all the corrosion around it:

This is the bolt which seems like it might one day come off, but it's very stubborn:

Any suggestions?
I'm about halfway through now, and I'm taking off the bottom two bolts. The bolts are both very corroded and a 10mm socket won't even budge them. I have been working at one of them with a 10mm wrench, but the other one I have no idea how to get off. Any suggestions?
This is the bolt with all the corrosion around it:

This is the bolt which seems like it might one day come off, but it's very stubborn:

Any suggestions?
#7
Looks like you already sprayed something on it. PB blaster, which is available at most hardware stores works better on rust than WD-40 (if you used that). (The stuff stinks though.  )
)
A 10mm 6-point socket or wrench is what I would use to avoid rounding off the head. A 6-point is different than a 12-point socket or wrench.
Even if you can't loosen that bolt, not all is lost. Since your plastic shroud is already damaged and you're replacing it, use a hammer and chisel to knock off the plastic around the bolt. Then just shave a few slivers of plastic from the replacement shroud to slide it in where the rusted bolt is. (A metal file should also work to take off some plastic from the shroud.)
Not exactly related to the rusted bolt issue; but, for removal of the damaged shroud, I might even use a pair of tin snips to cut up the shroud, so it is easier to pull out.
Good luck and tell us what happens.
 )
)A 10mm 6-point socket or wrench is what I would use to avoid rounding off the head. A 6-point is different than a 12-point socket or wrench.
Even if you can't loosen that bolt, not all is lost. Since your plastic shroud is already damaged and you're replacing it, use a hammer and chisel to knock off the plastic around the bolt. Then just shave a few slivers of plastic from the replacement shroud to slide it in where the rusted bolt is. (A metal file should also work to take off some plastic from the shroud.)
Not exactly related to the rusted bolt issue; but, for removal of the damaged shroud, I might even use a pair of tin snips to cut up the shroud, so it is easier to pull out.
Good luck and tell us what happens.

Last edited by redbull-1; 08-03-2013 at 05:22 PM. Reason: Added part regarding file.
#9
I got it them out with a flat screwdriver and a hammer, and just kind of chiseled around the plastic until it gave. Then when I went to take it out, the fact that the fan motor was so far out and melted it there, it wouldn't clear the AC line. So I took pliers and snapped the plastic parts it was stuck to until I could take it out seperately. When I went to replace it, I realized that the junkyard had given me the condenser fan instead, so the bolts didn't line up. So I'm going to have to call around for another one. Hopefully I'll have it done tomorrow. Here's some pics of the motor completely melting through the plastic! And thank you SOO much for your help!!


#10
Great job. Glad you got it. 
Let us know how it goes with the install when you get the right part.
I remember it was easier to put in the replacement (i.e., to clear the obstructions) than taking out the old one, even though the shroud wasn't damaged on the one I did.

Let us know how it goes with the install when you get the right part.
I remember it was easier to put in the replacement (i.e., to clear the obstructions) than taking out the old one, even though the shroud wasn't damaged on the one I did.
Last edited by redbull-1; 08-03-2013 at 10:49 PM.


